How to build an authentication solution with Norwegian Bank ID using Open ID Connect
Say you have a business dedicated to matching Norwegian borrowers and lenders. You want to make sure that both parties are who are they say they are, and you decide on verifying this using the Norwegian Bank ID. This could be either in the onboarding flow, or later on to authenticate already registered users.
This is how you would do it using Signicats Open ID Connect Client.
In this example we will be using Typescript along with the Signicat Open ID Connect Client. If you prefer to use our Rest API, you can check out the guide for that here.
# Prerequisites:
Step 1: Sign up for the dashboard at Signicat Dashboard
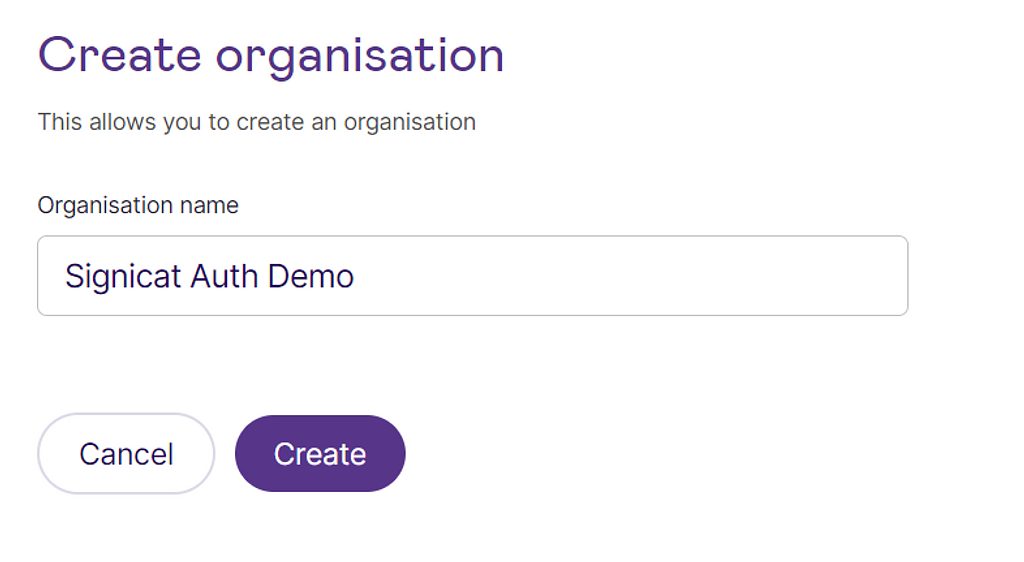
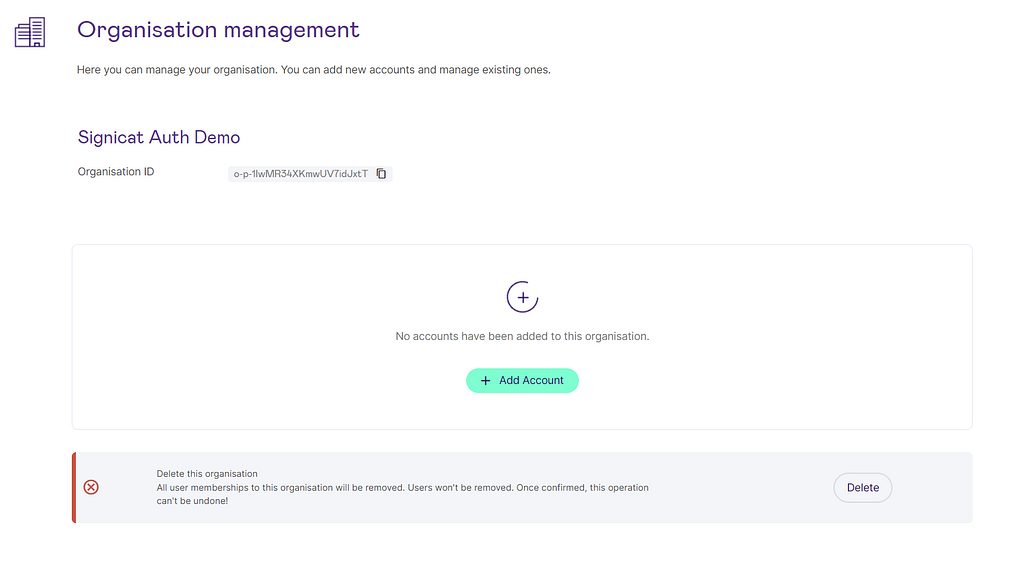
Step 2: Create an organisation
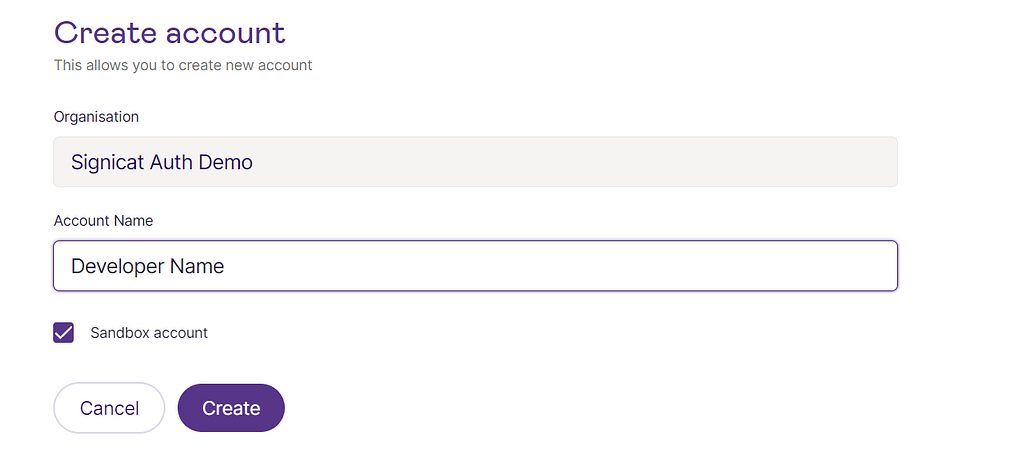
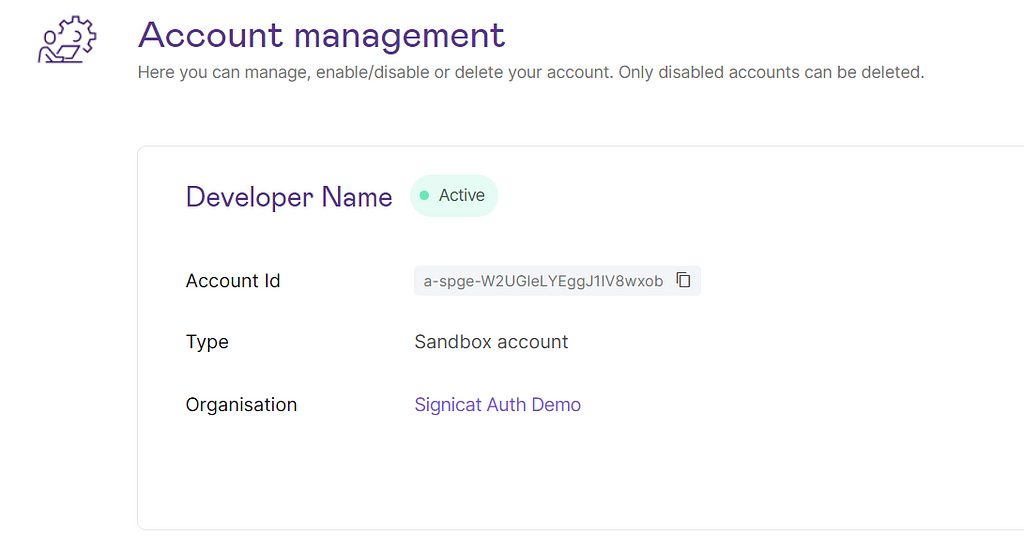
Step 3: Create a new sandbox account.
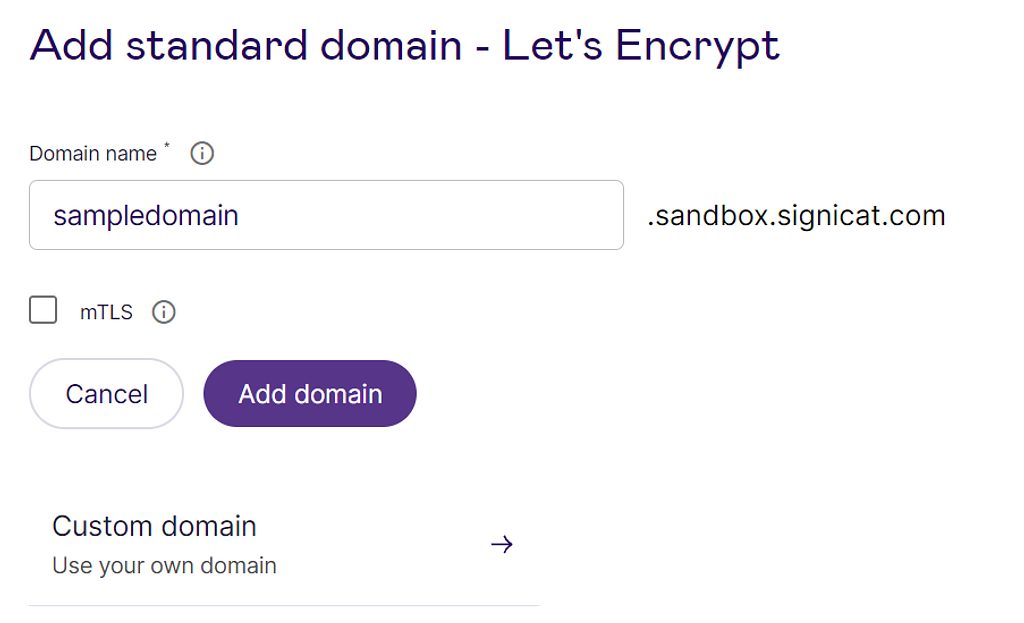
Step 4: Add a domain
Step 5: Create a new OICD-Client. Take note of the clientID.
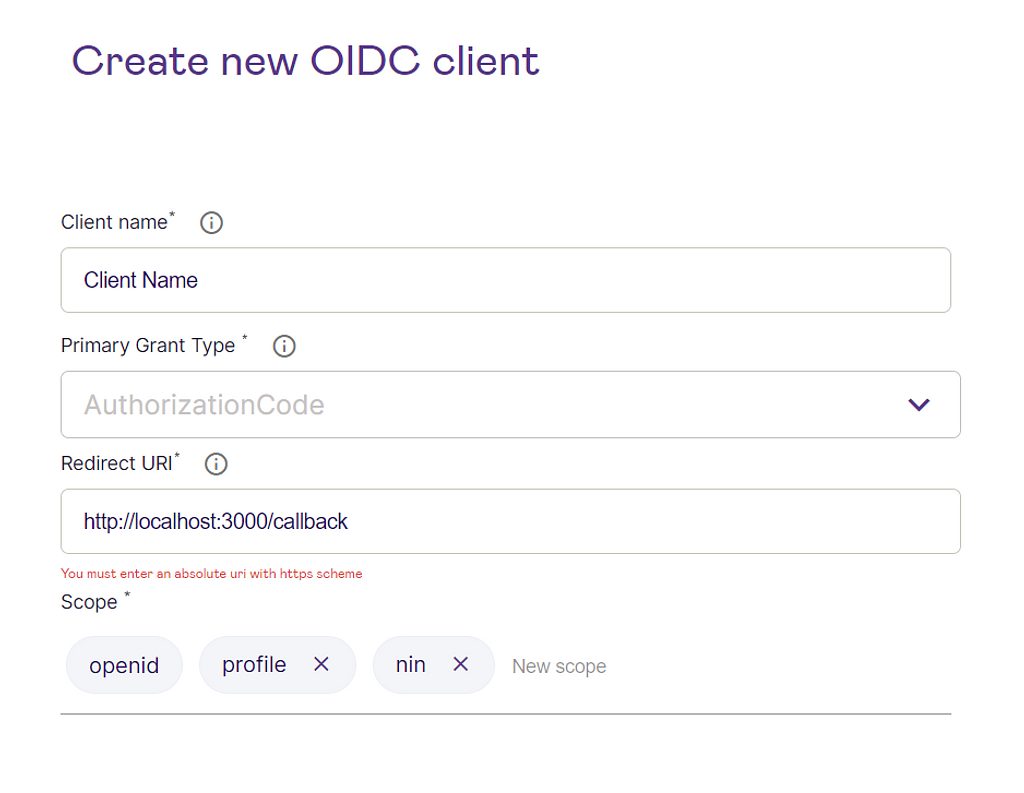
NOTE: When creating the client, you may not be able to add "http://localhost:3000/callback". If so, then add "https://example.com/callback" to create the client, and then add "http://localhost:3000/callback" afterwards under the "URI" tab.
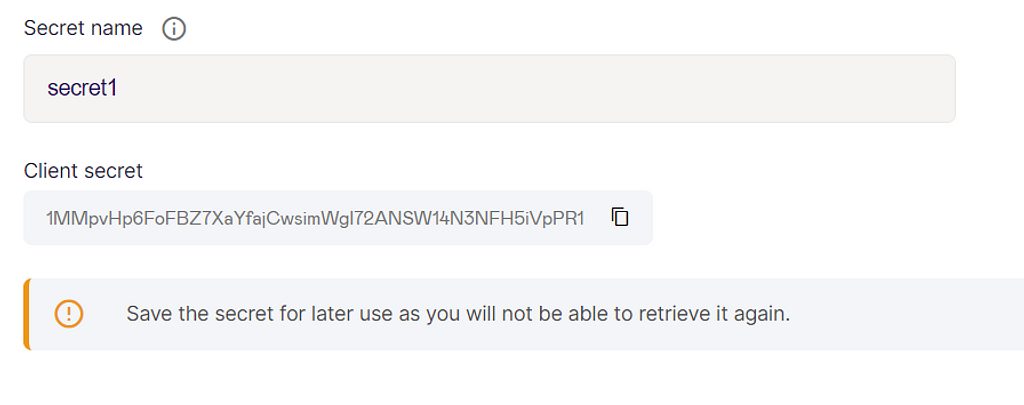
Step 6: Add a secret to your API-Client. Take note of your client secret.
Step 7: Enable Norwegian Bank ID
Click add new, and select Norwegian Bank ID. Afterwards it should look like this.
Now you’re all done in the dashboard and can move on to the actual code.
# Server Application:
For our server application we will use Node.js with Typescript and Express. If you are unfamiliar with this or want to read more about it you can find more info here: https://nodejs.dev/en/learn/no....
We want our users to verify their identity in order to increase trust on our borrower/lender platform. We can use OIDC for this.
For our example you only need one file, index.ts. You will need to install some dependencies:
npm install axios dotenv express nodemon openid-client ts-node typescript @types/axios @types/express
We want an endpoint for our users to verify themselves. This could be a “verify” button on a user profile, or a required step in a sign-up process. We also need a callback route to handle our logic after the user verifies. Along with a function to save the data coming in.
It should look something like this. Make sure to change the clientId, secret and wellKnownUrl to the ones from your Signicat Dashboard.
      // index.ts

import express from "express";
import { Issuer, BaseClient, UserinfoResponse } from "openid-client";

const clientId = "clientid-client-client-123";
const clientSecret = "KZVbBqb9vvwkjdsgfjhkKAUHEFLAjHPEETTHEGfQDhfs";
const wellKnownUrl =
  "https://exampledomain.sandbox.signicat.com/auth/open/.well-known/openid-configuration";
const app = express();
let client: BaseClient;

function updateUserInfoAndMarkAsVerified(userInfo: UserinfoResponse) {
  // save data
}

app.get("/verify", (req, res) => {
  // start verification
});

app.get("/callback", async (req, res) => {
  // handle successfull verification
});

app.listen(3000, async function () {
  // start app
});
Now we fill in the different parts of our app:
In the Signicat Dashboard you will find your “well known” url. You can pass this url to the openid-client library and they will create an issuer for you, which you can use to create a client:
      app.listen(3000, async function () {
  const issuer = await Issuer.discover(wellKnownUrl);
  client = new issuer.Client({
    client_id: clientId,
    client_secret: clientSecret,
    response_types: ["code"],
  });
  console.log("Listening on http://localhost:3000");
  console.log("Verify at http://localhost:3000/verify");
});
We start the authentication process by calling the “/verify” route. Here you decide what data you need, which identity protocols you will allow (norwegian bank id, swedish, etc.).
      app.get("/verify", (req, res) => {
  const authUrl = client.authorizationUrl({
    scope: "openid nin profile",
    redirect_uri: "http://localhost:3000/callback",
    acr_values: "idp:nbid",
    login_hint: "nin:10109001290", // <- Change/Remove in production
    grant_type: "authorization_code",
  });
  res.redirect(authUrl);
});
Next we handle the successfull verification of a user. A lot of the heavy lifting is done by the library openid-client. Therefore our code is pretty clean, thankfully.
      app.get("/callback", async (req, res) => {
  const params = client.callbackParams(req);
  if (!params.code) {
    console.log("no code param");
    return;
  }
  const tokenSet = await client.callback(
    "http://localhost:3000/callback",
    params
  );
  if (!tokenSet.access_token) {
    console.log("no access token");
    return;
  }
  const userInfo = await client.userinfo(tokenSet.access_token);
  updateUserInfoAndMarkAsVerified(userInfo);
  res.redirect("/");
});
As for the updateUserInfoAndMarkAsVerified function, that will depend on the specifics surrounding your app.
Full code example:
      // index.ts

import express from "express";
import { Issuer, BaseClient, UserinfoResponse } from "openid-client";

const clientId = "clientid-client-client-123";
const clientSecret = "KZVbBqb9vvwkjdsgfjhkKAUHEFLAjHPEETTHEGfQDhfs";
const wellKnownUrl =
  "https://exampledomain.sandbox.signicat.com/auth/open/.well-known/openid-configuration";
const app = express();
let client: BaseClient;

function updateUserInfoAndMarkAsVerified(userInfo: UserinfoResponse) {
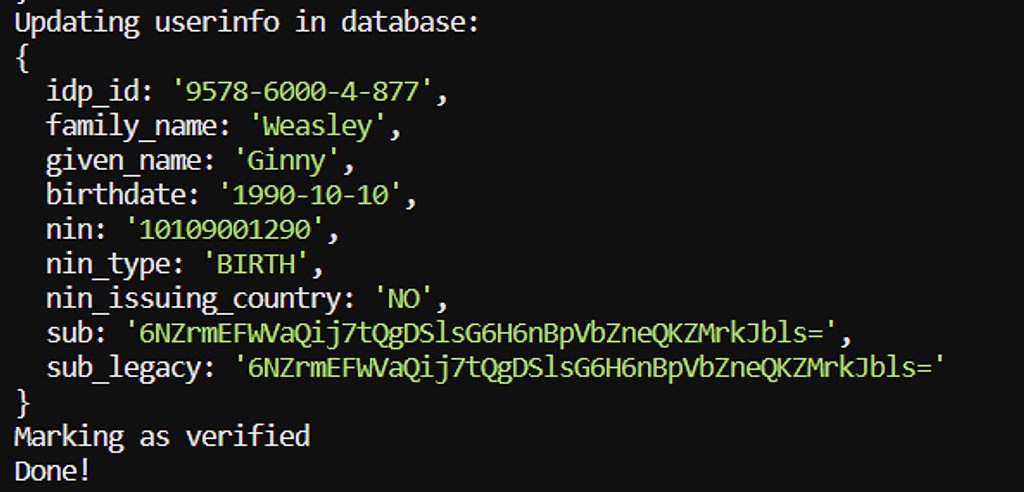
  console.log("Updating userinfo in database: ");
  console.log(userInfo);
  console.log("Marking as verified");
  console.log("Done!");
}

app.get("/", (req, res) => {
  res.send("home");
});

app.get("/verify", (req, res) => {
  const authUrl = client.authorizationUrl({
    scope: "openid nin profile",
    redirect_uri: "http://localhost:3000/callback",
    acr_values: "idp:nbid",
    login_hint: "nin:10109001290",  // <- Change/remove in prod
    grant_type: "authorization_code",
  });
  res.redirect(authUrl);
});

app.get("/callback", async (req, res) => {
  const params = client.callbackParams(req);
  // console.log(params);
  if (!params.code) {
    console.log("no code param");
    return;
  }
  const tokenSet = await client.callback(
    "http://localhost:3000/callback",
    params
  );
  console.log("received and validated tokens");
  console.log("validated ID Token claims");
  if (!tokenSet.access_token) {
    console.log("no access token");
    return;
  }
  const userInfo = await client.userinfo(tokenSet.access_token);
  updateUserInfoAndMarkAsVerified(userInfo);
  res.redirect("/");
});

app.listen(3000, async function () {
  const issuer = await Issuer.discover(wellKnownUrl);
  client = new issuer.Client({
    client_id: clientId,
    client_secret: clientSecret,
    response_types: ["code"],
  });
  console.log("Listening on http://localhost:3000");
  console.log("Verify at http://localhost:3000/verify");
});
Run the app by typing:
nodemon index.ts
And test it our for yourself by clicking the verify link in the terminal and using our test credentials (see below):
NOTE: For testing you can use our Sign-in test credentials:
Choose Norwegian BankID and sign with a test user as follows:
National identity number: 01100844350
One time password: otp
Password: qwer1234
# Wrapping up
You now have validated user info to use in your application. Whether you use this to create a checkmark next to profile pictures, or require it for your own sake, you can now do so. Next you’d want to change the login_hint on the “/verify” route with the National Identification Number of the person identifying if you already have it from your frontend, or omit it entirely. You also need to implement the updateUserInfoAndMarkAsVerified function to actually store the UserInfo.
Happy coding!

